Purpleplane
Well-known member
Yeah, every time I do a "test fit" I just have to put some planes at the gates.Great progress so far! Loving the terminal with the jetways and planes already going to it for testing!
Yeah, every time I do a "test fit" I just have to put some planes at the gates.Great progress so far! Loving the terminal with the jetways and planes already going to it for testing!
 Closer view of gates C1, C3, C5 and C6:
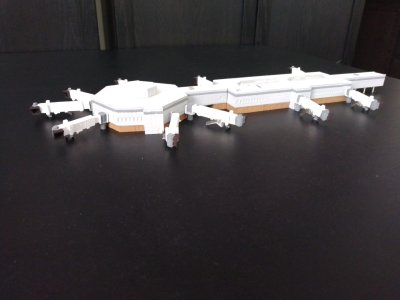
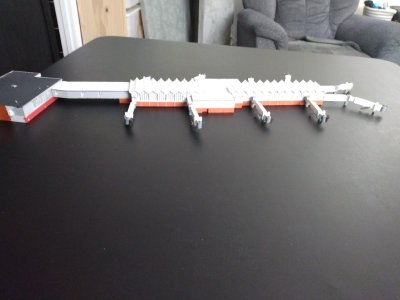
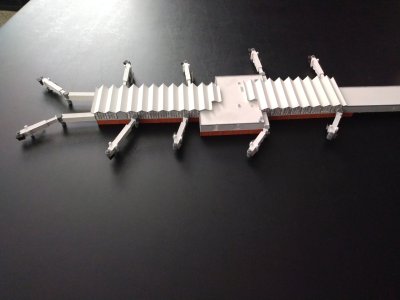
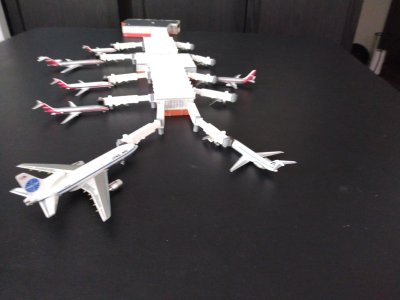
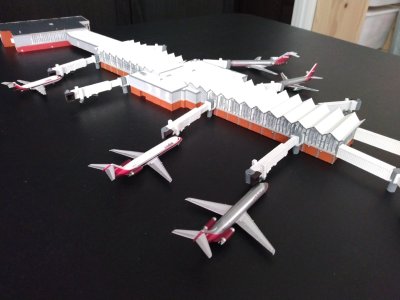
You have done a fantastic job on these terminals and jetways.Concourse C jetways are now finished. I have some photos, and of course I had to place some aircraft at the gates:
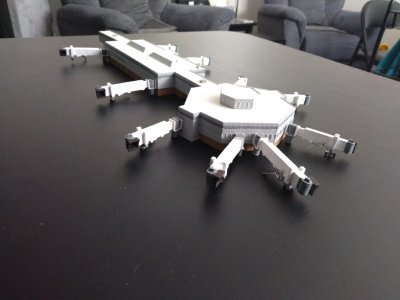
Overall view looking north:
View attachment 17167
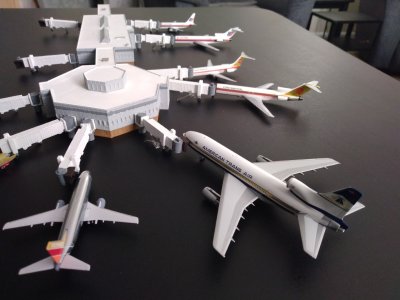
Looking east:
View attachment 17168
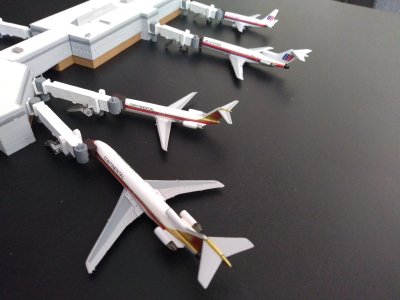
Gate C1 with a United 737-222, C3 with a United 727-222, C5 with a Continental DC-9-30, C6 with a Continental 727-224A, C7 with an American Trans Air L-1011, and gate C8 with Southwest 737-3H4 N629SW Silver One:View attachment 17169Closer view of gates C1, C3, C5 and C6:
View attachment 17170
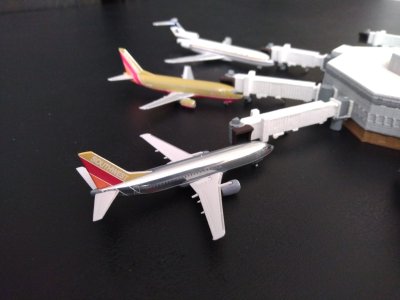
Gate C8 with Southwest Silver One, C9 with Southwest 737-3H4, and C10 with an American Trans Air 727-200:
View attachment 17171
On to concourse D
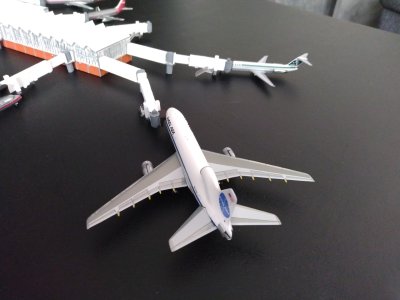
Yes,it is. All the effort is well worth it.This is looking fabulous! It is an amazing feeling to see it taking shape, isn't it?
I think you could edit in rain drops if you manage to find high quality stock photos or water your planes each time you need special weather conditions. Though I never tried it myself. Also you're lucky you have a father who shares the same goals as you!While my dad finishes up work on the building and jetways, I am undertaking the painstaking task of researching historic flight schedules and reconstructing a day by day log of scheduled aircraft movements, for one week within each schedule period. I'm aiming to put together at least one per year. This will give a detailed listing of what's at each gate at any arbitrary point during the day, in order to aid in accurately setting up for photos. It's all in Excel, and the gate occupancy tracking is automated using formulas. For each of the 34 gates, there is one column showing what should be at that gate following each movement, by airline and type.
Unfortunately, due to cost limitations as well as the need for portability, we were unable to include ground and building lighting effects for night operations. Is there a way to post process photos to simulate different times of day and weather conditions?
I think getting the planes wet could harm the finish (depending on the livery); I would recommend using stock photos.I think you could edit in rain drops if you manage to find high quality stock photos or water your planes each time you need special weather conditions. Though I never tried it myself. Also you're lucky you have a father who shares the same goals as you!
It's actually his project but I'm helping where I can from a technological standpoint. I analyze data with Excel all day long for my career, so it's a natural fit here.I think you could edit in rain drops if you manage to find high quality stock photos or water your planes each time you need special weather conditions. Though I never tried it myself. Also you're lucky you have a father who shares the same goals as you!
Oh no, I was not ever thinking about using real water. Just wondering if there's a way to edit photos to simulate a cloudy sky or snow or fog, the like. Or to set up a night scene and edit in all the lighting on the building, ground, and aircraft...I think getting the planes wet could harm the finish (depending on the livery); I would recommend using stock photos.
Oh yeah… yeah that definitely works.Oh no, I was not ever thinking about using real water. Just wondering if there's a way to edit photos to simulate a cloudy sky or snow or fog, the like. Or to set up a night scene and edit in all the lighting on the building, ground, and aircraft...
Yeah. Though its all for the photo right?I think getting the planes wet could harm the finish (depending on the livery); I would recommend using stock photos.
Still though. I've never worked with my father like that! Except when I need model planes..It's actually his project but I'm helping where I can from a technological standpoint. I analyze data with Excel all day long for my career, so it's a natural fit here.
If it's in Microsoft365 you should be able to share the link otherwise I'm not sureI have the first set of schedules (a week out of October '91) all finished up in Excel. Is there a way I can share it here to serve as a source of inspiration to those who are looking to do something similar (or also happen to be interested in building IND on their own)?
