Show Your Crazy

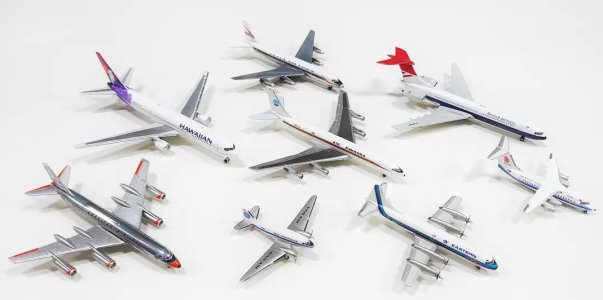
So it seems I've taken more pictures than I readily remember taking lol. On a hunch I decided to check in on FBs 400iD group on my phone (currently at my phone as well as I type this) - and yes, indeed they were there. I decided to download those to post here (thus their low quality) just for yeah, etc. Thanks in advance.

I guess I just shoot on impulse and not methodically. Need to improve on that. Additionally, after moving 5 apartments and 3 cities over the past 7 years, I moved back in with my mum last year (while I continue to shuttle between 2 cities 1000km apart) - so hopefully I'll be able to spend more time and thought on things close to heart.

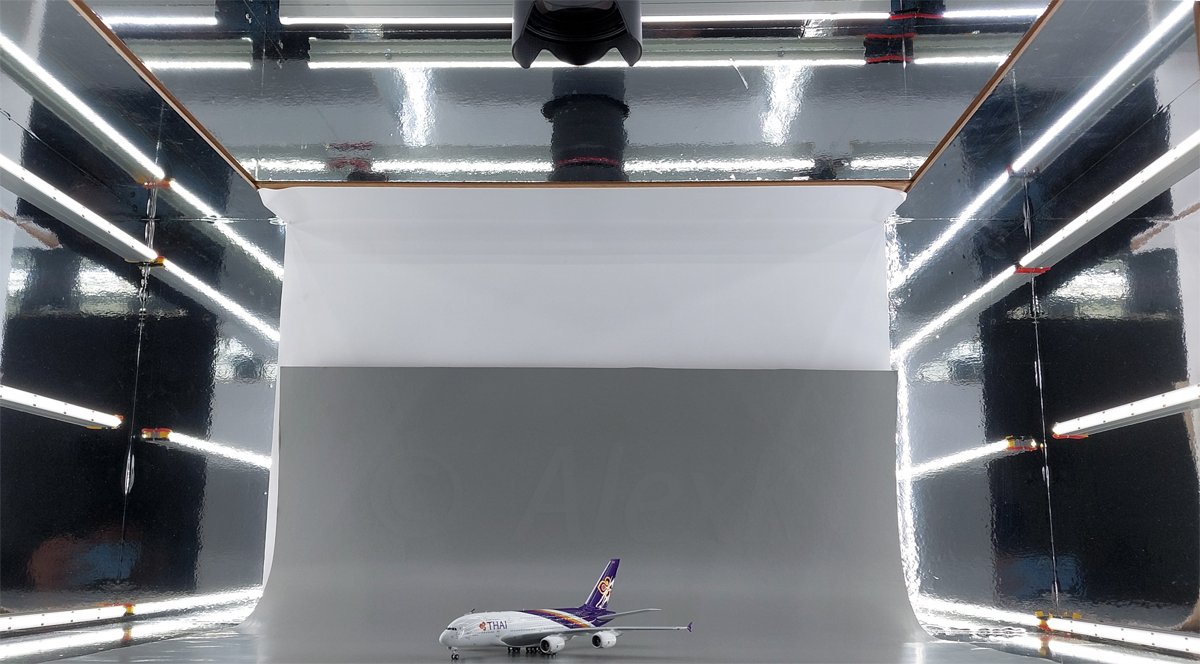
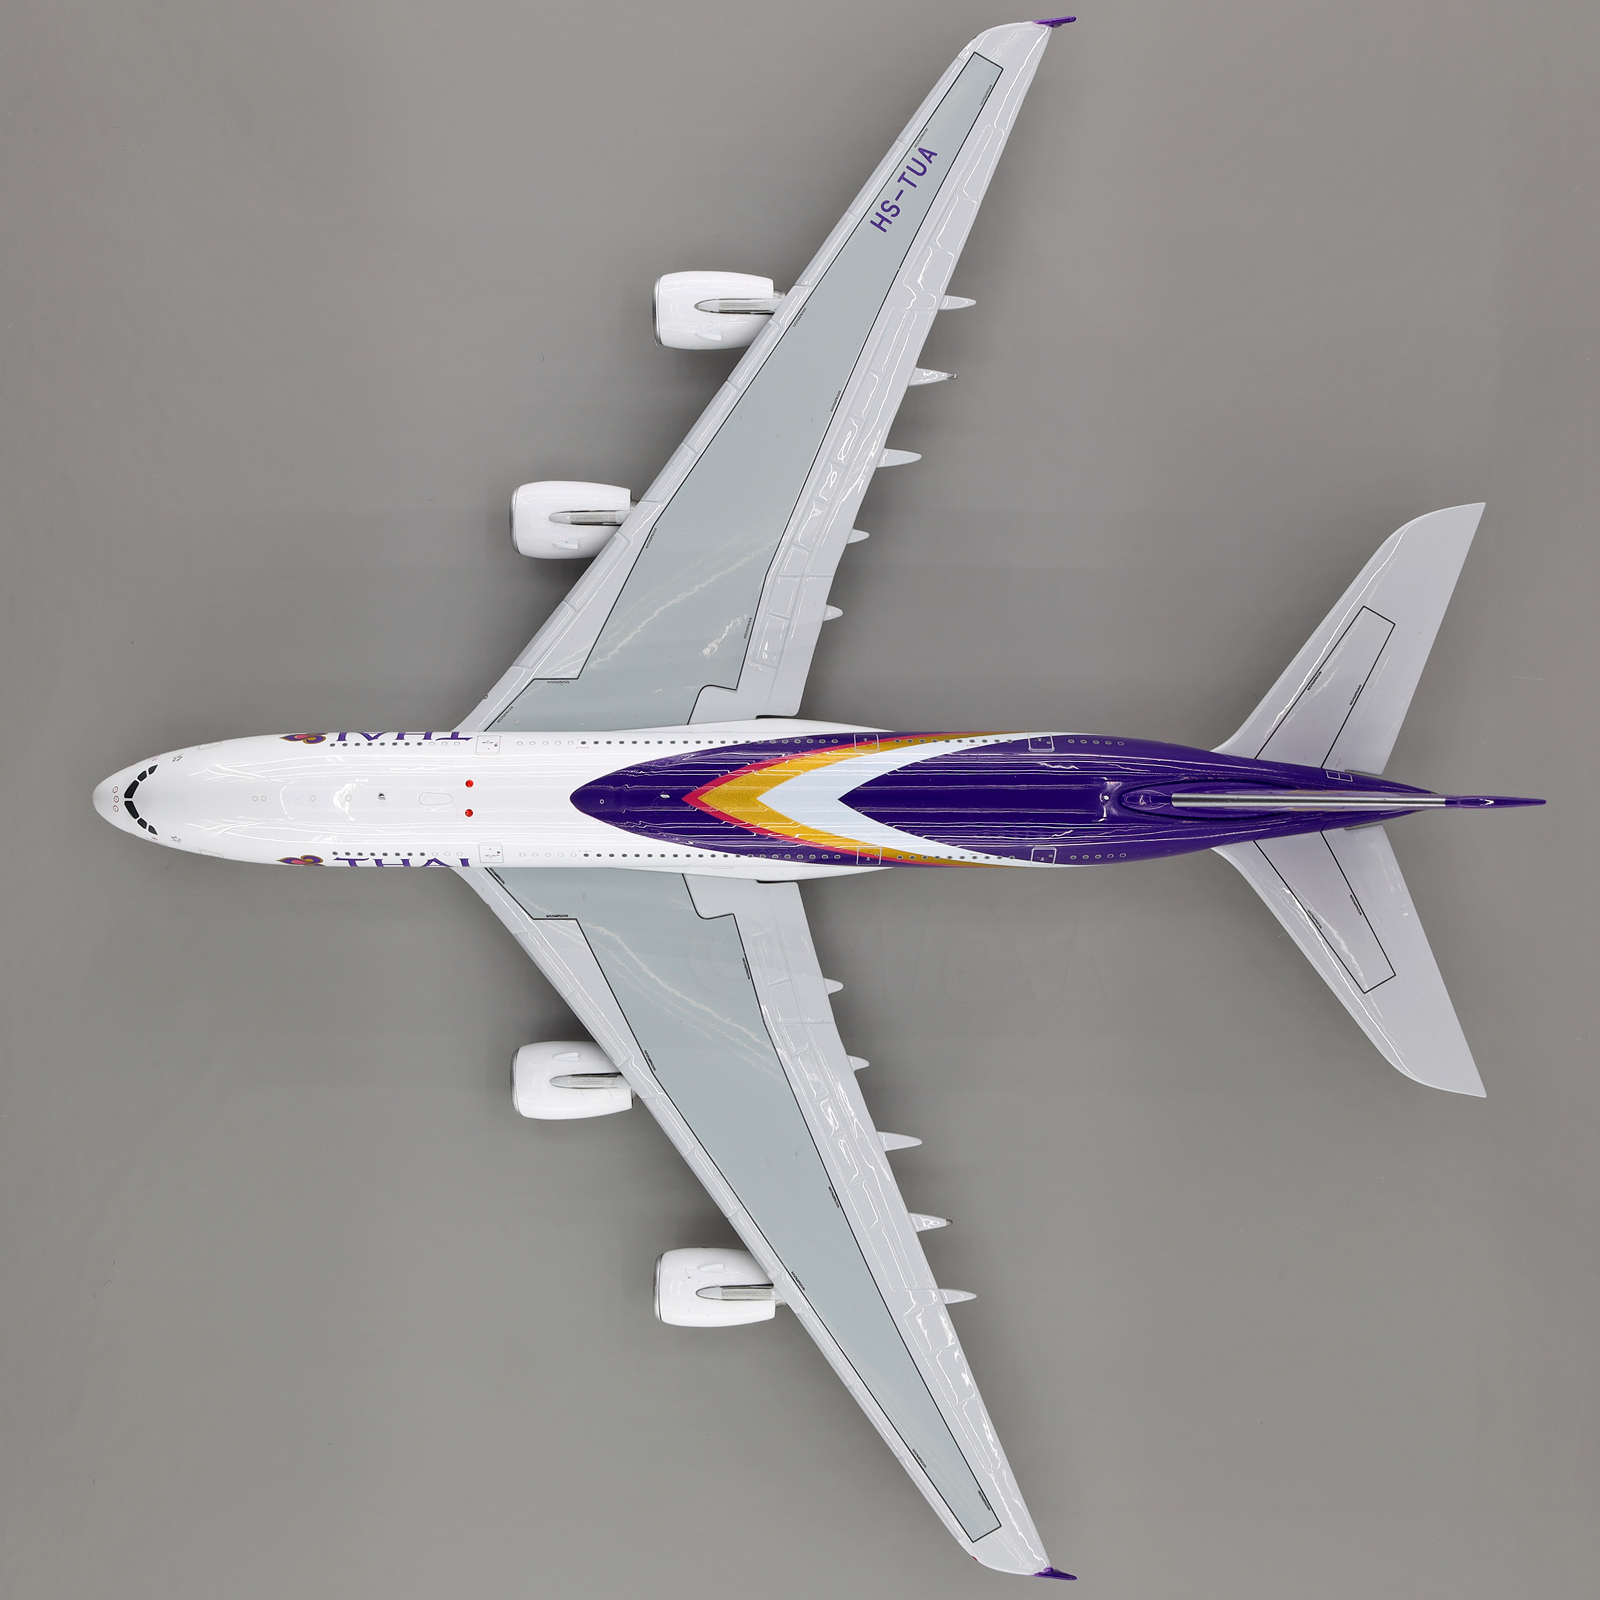
Apologies I don't mean to spam this thread - but these are all images taken using my mid-range Xiaomi phone and differing lighting - the TAPs were shot in 3k light (I used a table lamp placed strategically for each shot - I consciously wanted to avoid tone-less ambient light). The others were shot on my workdesk in 4k ambient light. All commercial LED bulbs .

I would have used Snapseed on the phone to edit all photos to varying degrees.

Cheers!

1712941800570-01.jpeg1712941826644-01.jpeg1712941860085-01.jpeg1712941891027-01.jpeg1712941915885-01.jpeg1712941937809-01.jpeg
1712941717400-01.jpeg
1712941779643-01.jpeg
1712941746995-01.jpeg
 

Attachments

  • 1712941779643-01.jpeg
    1712941779643-01.jpeg
    111.6 KB · Views: 4
Last edited:
Too many models distract from the studio it seems.:LOL:


I enjoy taking photos of models a lot more than collecting them to be honest.

Here's a very private look into my self-made multi-purpose light box for scale modeling/decaling or photographing - stripped off all its diffusor plates and stuff to see inside.
Numerous independently switchable CRI98+ LED strips behind removable light diffusor plates. You can see the camera lens in this pic in the top-down position for perpendicular photos (or other purposes)
box by Alexander Kern, auf Flickr

And here's a quick shot taken from said angle and without any diffusion - I normally use the "undiffused" stripes to check surface irregularities when building stuff - usually don't use it for taking photos. With a bit of math you can even calculate layer thickness of the various color layers here...
hstua11 by Alexander Kern, auf Flickr

Thanks for letting us look into your photo set. When I started the thread I was hoping you would chime in 😉

Also love the Viasa Schabak fleet I see in the background Jorge!

Ah yes! I have individually packed A300 and DC-10s, and a dual pack that also includes them with "JetSet" artwork. I'm looking for a dual pack that has Viasa artwork. There are also pseudo fantasy 747-200 and a DC-10 in the last livery that I am looking for.

Super awesome setups guys!!!

When taking pics of a single model (for example: a new arrival in my collection), i'm very lazy, I just use my phone and place the model on top of my desk. But I like to include the box as a background :)

However, things get a little more interesting when I set up my diorama. Here's a "behind the scenes" of my upcoming project.

View attachment 28955

Taking photos of models in my diorama in natural light yielded my favorite results, but it was so much work. I had to take all that stuff outside, the wind always messed things up and the sunlight moved quickly. I bought my lamp to mimic sunlight indoors, but when I got tired of the diorama the lamp became too harsh for single models. Then I realized my room was small enough to work as a lightbox, using a rather long exposure, of course.

When I take photos of bare metal models you can see all the stuff I have on the walls.

DSC_2389.jpg
 
Fully agree with this. These were taken with a phone cam in natural light, and I prefer them to my indoors pics with the MILC.
These are gorgeous! Can you share more of these?! Did you use any editing app on the phone, or on the computer? And what did you use for the seamless backdrop? Thanks!
 
These are gorgeous! Can you share more of these?! Did you use any editing app on the phone, or on the computer? And what did you use for the seamless backdrop? Thanks!
For those, I placed a white sheet on top of a GJ200 box and the model on top of that. It's on a balcony so light can come through, and the white walls happen to blend well with the sheet.
20240413_153355.jpg

Here are some more pics. I normally don't edit, and only fiddle with brightness and exposure when I do.
20230515_144218.jpg20230515_143229.jpg
 
Well, natural light is great - if you have it available. I rarely ever have as usually the sun is long gone when I find the time to take pics. Well, and if I find the time at daylight I prefer photographing other things than diecast :LOL:

I think I've posted these already somewhere. Time to take some more...
Here's a pic taken outside on an overcast day. I did not set white balance manually here but let do the cam all the work - I don't like this one😕
ddrsck10 by Alexander Kern, auf Flickr

Same lens, same day. Inside this time. Again let the cam do the job. You need a really well made model to make such macro look ok - Panda does a great job here.
IFTu134 by Alexander Kern, auf Flickr

Of course, outside in the morning sun is great
Definitely need to do another shoot this way😊
vrhdb2 by Alexander Kern, auf Flickr
VRHHK1 by Alexander Kern, auf Flickr

Gears retracted (thanks to Photoshop) for a formation low level flight through the backyard.
zssagh by Alexander Kern, auf Flickr
 
When I take photos of bare metal models you can see all the stuff I have on the walls.
Really love the looks of this GJ 747 mould, if only those pylon/engine assemblies wouldn't look that crude.
It looks like a windowsill judging by the double seamline.
For a seamless backdrop I recommend using a larger sheet of thicker but flexible paper or plastic sheet where you place the model on and that you simply curve upwards behind your model. Use a matt surface to avoid reflections.
Best is to use a plastic surface as many models come with a fine layer of protective oil - particularly rolling gears are sometimes soaked - which will quickly cause stains on paper/cardboard.
I'm using a large flexible pasteboard covered with self-adhesive foil for kitchen furniture. Matt finish, easy to clean but cheap;). Once I get around to upgrading I'll replace the pasteboard with a flexible styrene sheet for a smoother surface.
 
Top