bakejobb_23
Well-known member
Hello All,
Firstly- This thread will be used for one off posting random small boards I make. Either quick projects for testing or mini side passions I’m doing for fun, maybe eventually even showing off custom work for possible future clients once I reach a certain point I am happy with these to sell. I’d never really do proper “updates” of any of these I’d imagine but I want to post them as I make them for my own documentation purposes.
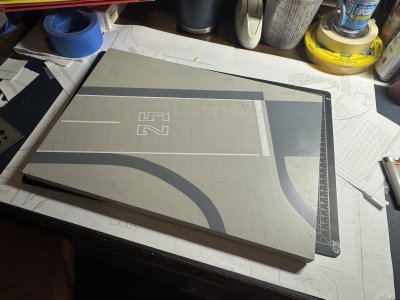
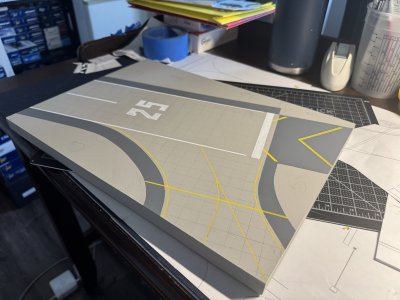
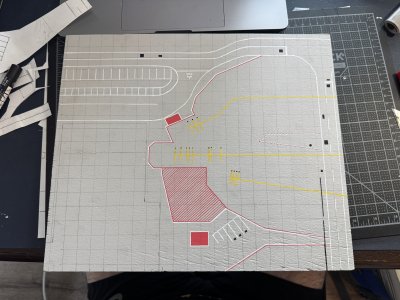
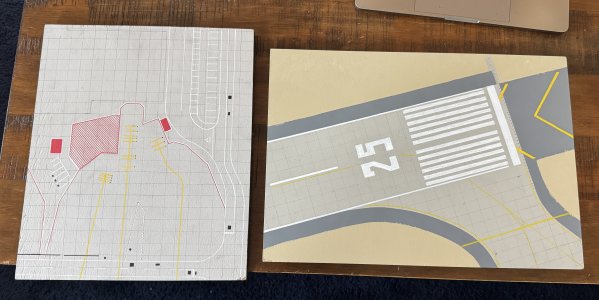
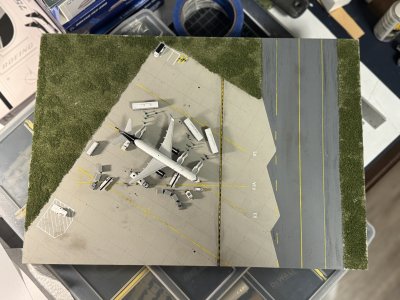
This was a quick “one day” project I finished tonight to brush up on a few skills. This isn’t perfect but I wanted to see how quickly I could crank one of these out. Lots to perfect and keep working at regarding my line work and weathering but i’m much happier with my concrete tones on this board.
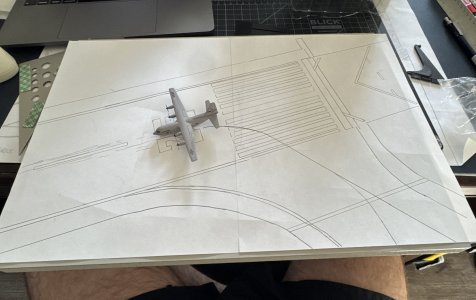
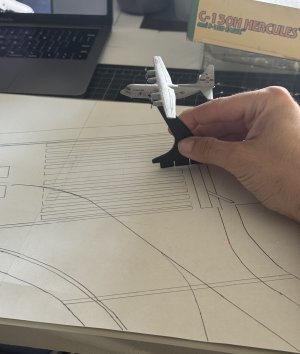
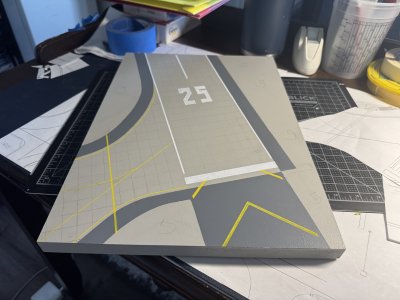
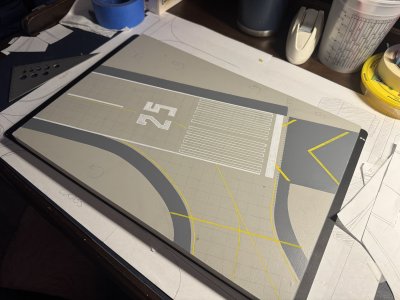
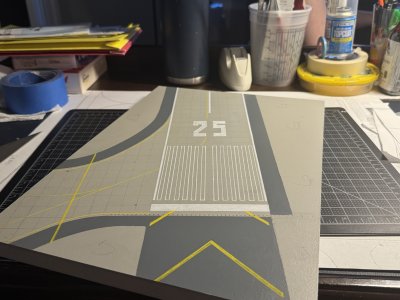
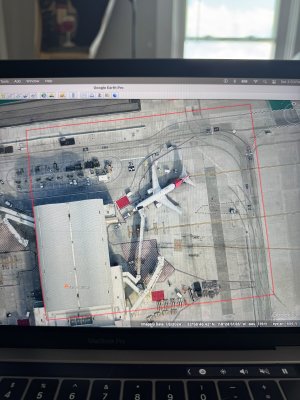
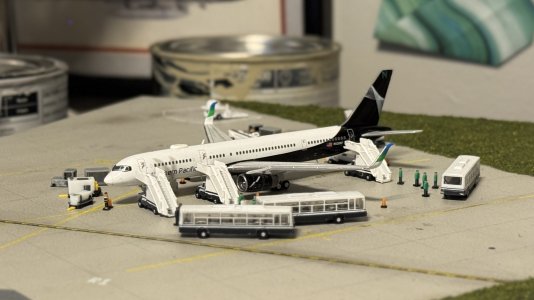
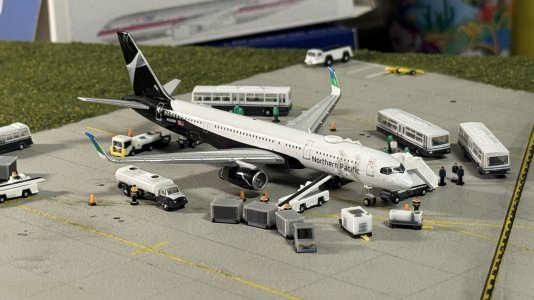
This is a multipurpose fictional ramp section based very loosely off of a small section at CMH airport. I used the basic pad/taxiway layout and added my own parking lines and some other small details. This board will be used to show off the odds and ends of my 1:400 collection such as charter planes, cargo, and maybe even military and private aircraft…along with possibly one off older gen models I can’t fill out a couple of gates with. There’s a few configurations possible including up to two 757-200s beside each other or one wide body across a few different configs. As shown here is a 757-200 operating a charter flight for a theoretical sports team. The taxiway adds an extra detail and also is capable of making things a bit more interesting. I don’t plan to perfect this board over time but i’m happy with the results I achieved in a relatively short amount of time.
Let me know what you think! Enjoy
Firstly- This thread will be used for one off posting random small boards I make. Either quick projects for testing or mini side passions I’m doing for fun, maybe eventually even showing off custom work for possible future clients once I reach a certain point I am happy with these to sell. I’d never really do proper “updates” of any of these I’d imagine but I want to post them as I make them for my own documentation purposes.
This was a quick “one day” project I finished tonight to brush up on a few skills. This isn’t perfect but I wanted to see how quickly I could crank one of these out. Lots to perfect and keep working at regarding my line work and weathering but i’m much happier with my concrete tones on this board.
This is a multipurpose fictional ramp section based very loosely off of a small section at CMH airport. I used the basic pad/taxiway layout and added my own parking lines and some other small details. This board will be used to show off the odds and ends of my 1:400 collection such as charter planes, cargo, and maybe even military and private aircraft…along with possibly one off older gen models I can’t fill out a couple of gates with. There’s a few configurations possible including up to two 757-200s beside each other or one wide body across a few different configs. As shown here is a 757-200 operating a charter flight for a theoretical sports team. The taxiway adds an extra detail and also is capable of making things a bit more interesting. I don’t plan to perfect this board over time but i’m happy with the results I achieved in a relatively short amount of time.


Let me know what you think! Enjoy
