You are using an out of date browser. It may not display this or other websites correctly.
You should upgrade or use an alternative browser.
You should upgrade or use an alternative browser.
Building a model airport
- Thread starter SemKlep
- Start date
SemKlep
Member
bakejobb_23
Well-known member
Looks great so far! With the space you have, you may be able to squeeze in an extra gate if you’d like. Might only be narrowbody only but that’s not uncommon to see around the world right next to widebody gates. Keep it up!
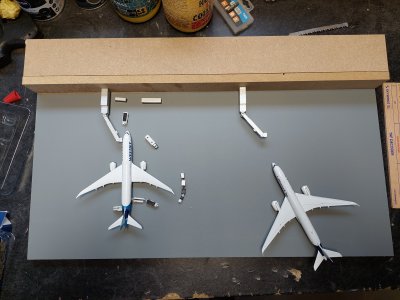
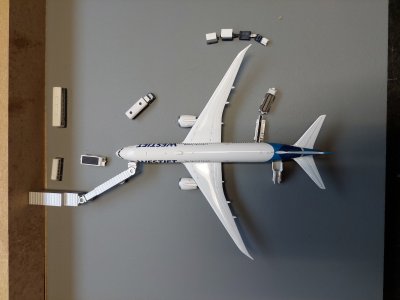
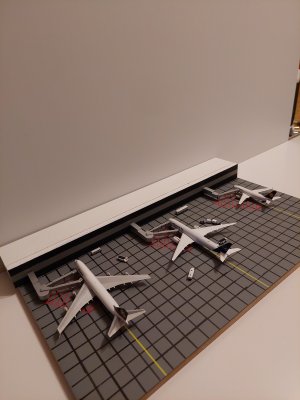
Starting to make a small airport for the test, he is not ready but i look nice!
That looks neat! And that wood you got is great for a terminal. You just need to paint and add the windows and other details. This is the fun part

Charter
Well-known member
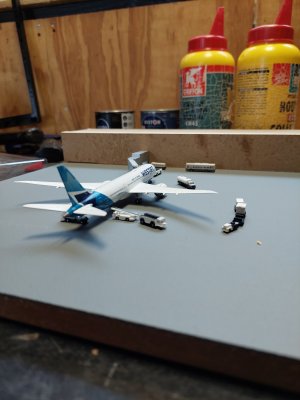
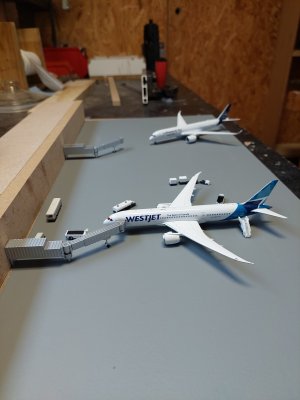
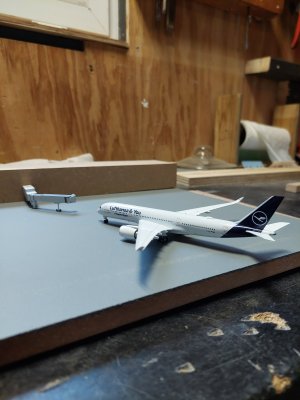
Yes, extra arking stand to add. Wingtip to wingtip you need a space of about 2 cm: the airplanes wingtips/winglets are relatively close to each other at parking stands, about 10/12 meters that are 2 to 4 cm in the different scales.
Then the wood panel: already grey so you could not have the necessity to paint it, but just realize the tarmac grid and then the parking lines and marks.
Then the wood panel: already grey so you could not have the necessity to paint it, but just realize the tarmac grid and then the parking lines and marks.
Charter
Well-known member
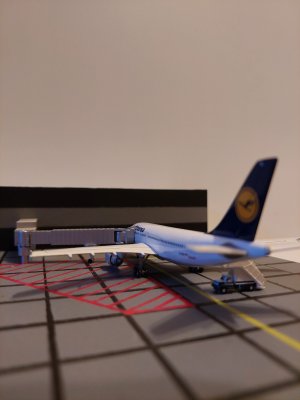
About the tarmac grid? 1 cm x 1 cm in 1:500 scale, 2 cm x 2 cm in 1:400 scale (1 x 2 cm in 1:400 scale if you want to realize rectangles).Which dimensions of the concrete tiles do you recommend? There are many different sizes.
Use a pencil or a black Stabilo pen with fine/medium tip.
Last edited:
Charter
Well-known member
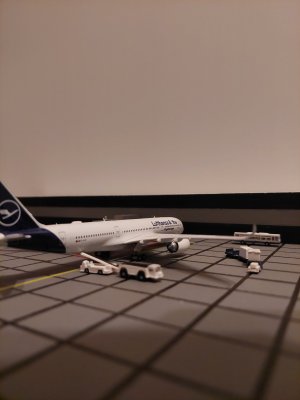
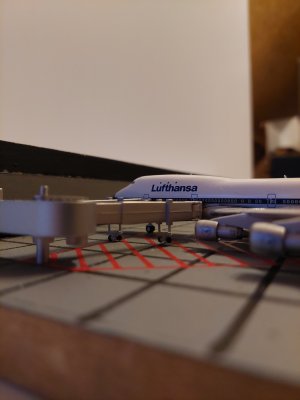
Tarmac grid well done, red jetways lines nice, white parking stands are missing: you can not draw them but in this case you have to draw the vertical white lines delimiting the parking stands. It is important to delimit the maneuvering/service area of the GSEs within the aircraft area.
bakejobb_23
Well-known member
its looking really good! you can get weathering powders and oils to make stains on the concrete as well. I also recommend spraying a clear coat on top to keep your board nice overtime. that way you can also give it a quick wipe down with a wet rag if its dusty or dirty.
bakejobb_23
Well-known member
With which products would I do that?
I grabbed powders and other weathering stuff from a model train shop nearby my house. You could look online if you don't have one near you to find what you may need or want to experiment with. Lots of great model railroading videos to help explain the general process as well. A lot of the same techniques can be applied to our model airports just in different contexts of course. As for clear coat, I get a big spray can from a hardware store. Just make sure its clear and the finish can be satin or matte. I use matte finish as it helps with the sunlight glare for my photos a bit more.
Charter
Well-known member
Vice versa. You spray the hairspray once finished everything. At least 1 meter far otherwise the liquid drops of the spray will spread paint, colors etc ruining your work.So you spray the hairspray on the right spot and then paint over it with black, or the other way around?


JET-10/11/47
Active member
Well I’m seriously impressed with those airports Charter and how you’ve built them from scratch!! Seriously impressive!
Similar threads
- Replies
- 15
- Views
- 671
- Replies
- 5
- Views
- 156
- Replies
- 15
- Views
- 839