OscarBravo992
Well-known member
Hi All,
I run a small, commission-based 3D modelling/printing service over on Instagram, but I thought it might be fun to share some pictures on here too.
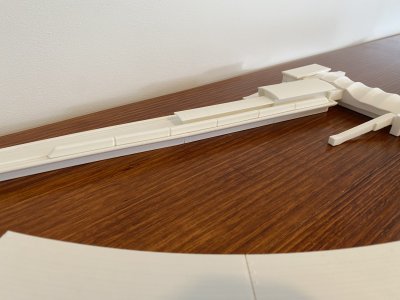
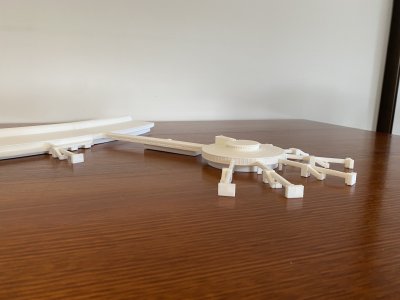
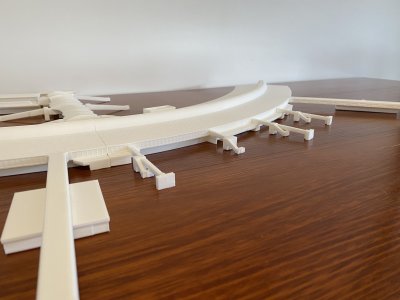
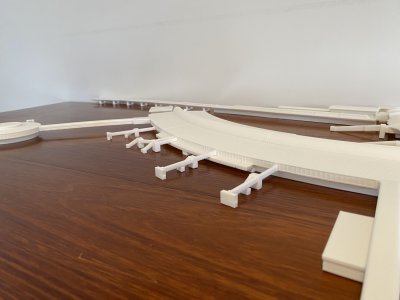
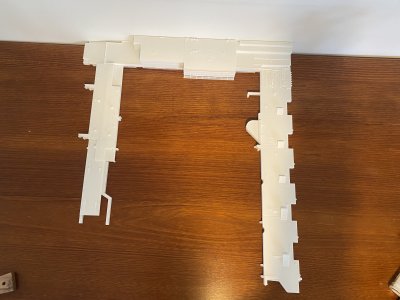
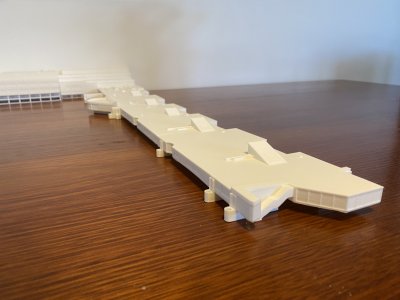
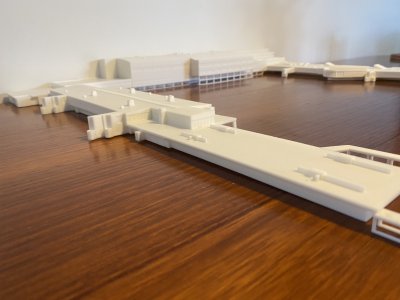
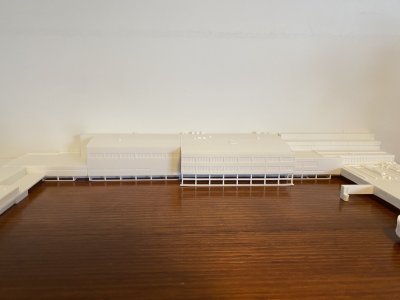
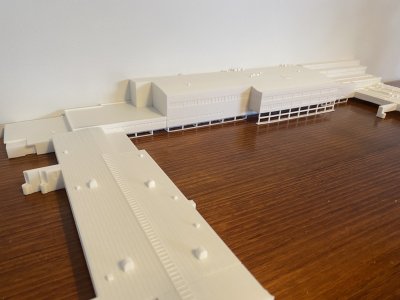
To start things off, I just finished one this evening:
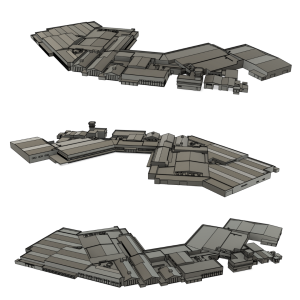
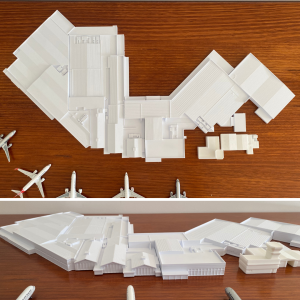
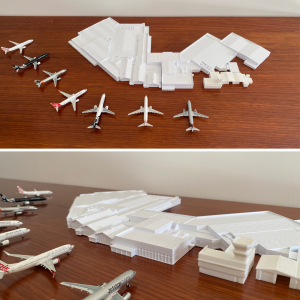
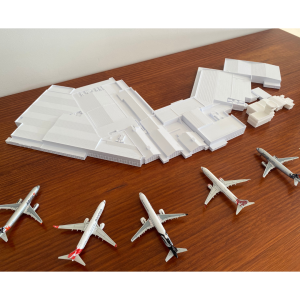
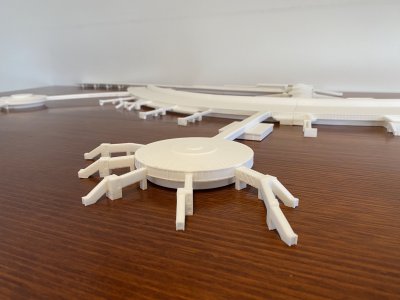
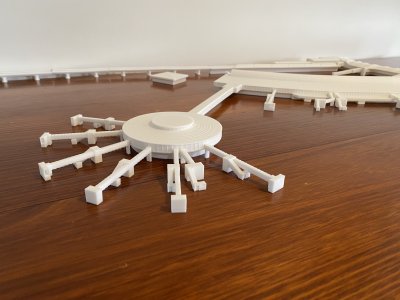
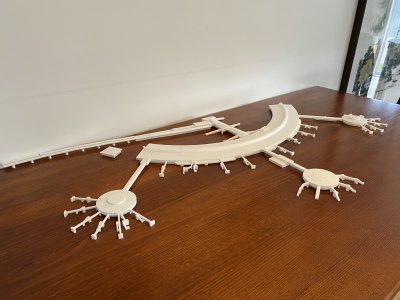
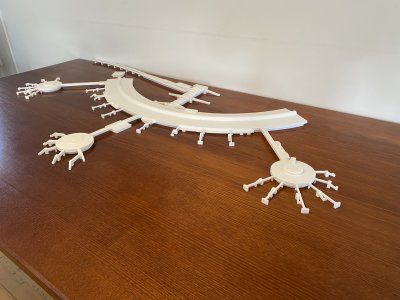
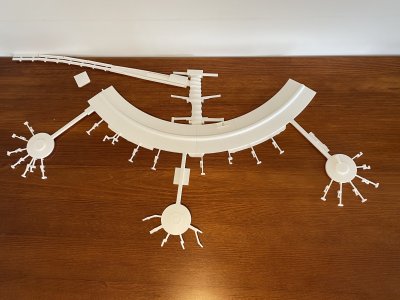
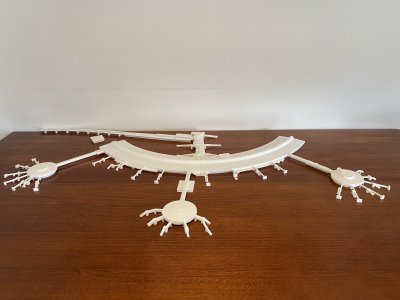
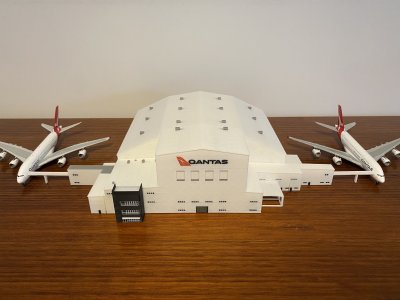
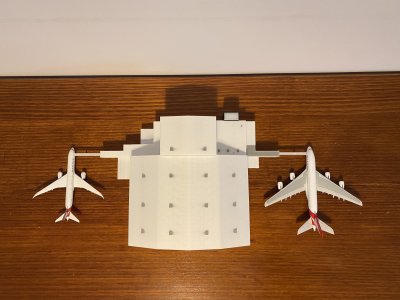
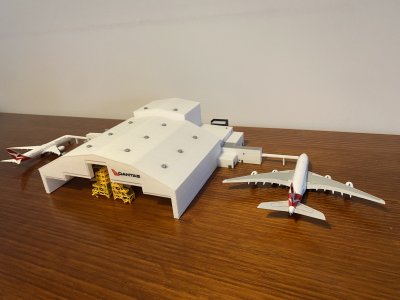
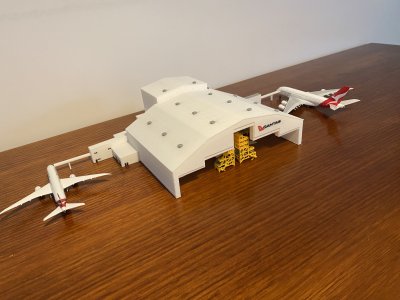
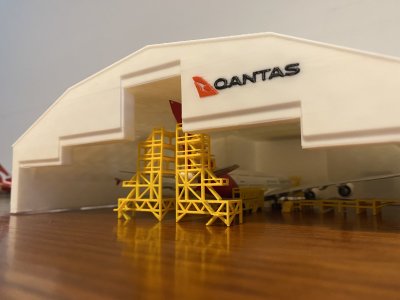
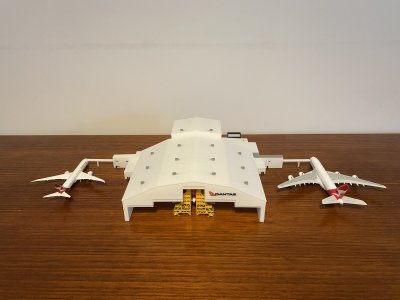
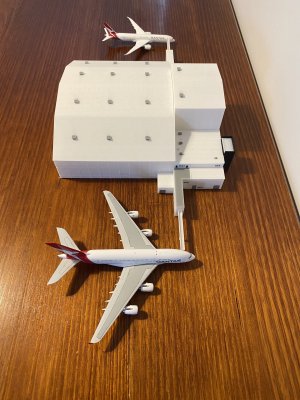
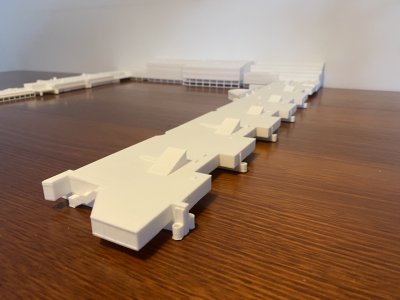
Raleigh-Durham International Airport (KRDU/RDU)


And as a little self-promotion, here's my Instagram if you'd like to check it out here.
I run a small, commission-based 3D modelling/printing service over on Instagram, but I thought it might be fun to share some pictures on here too.
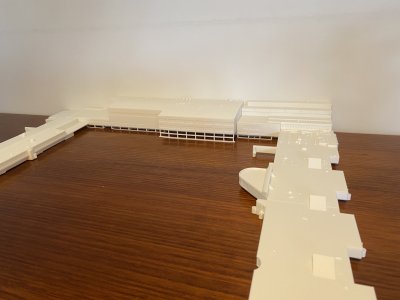
To start things off, I just finished one this evening:
Raleigh-Durham International Airport (KRDU/RDU)
And as a little self-promotion, here's my Instagram if you'd like to check it out here.

 .
. .
.