[1:400] The construction of Jangada - Ada Rogato Int'l Airport

LeoMuse747

Moderator
Staff member
Hi! :D

I've created this thread to show the construction of my current diorama. There will be another thread (soon!!!) showing the pics of it fully finished and the whole activity.
Basically, my diorama is a fictional airport located in Northeast Brazil. Timeline goes from year 1982 up to 1998. Most of these pics are quick phone snapshots so please excuse the kinda poor quality. Stay tuned for the definitive thread of it, this one is just for the construction phase :)

By the way, my airport will also be featured in a dedicated Instagram page, still under development aswell.

Anyway, let's begin!

------------------------------

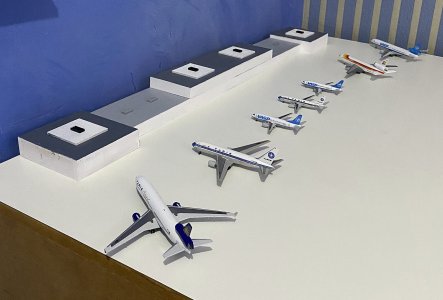
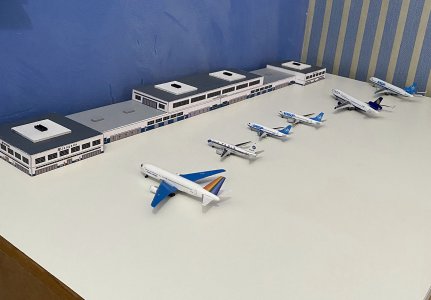
This is the terminal building. It's the first thing i've done before starting work on the diorama table.
The terminal is entirely made of MDF wood blocks which can be found in hardware/handicraft stores here in my city.
After painting, details were added using stickers, wood sticks and even some small Lego pieces. This is the fun part of building some dioramas! We have to be creative with our resources sometimes.
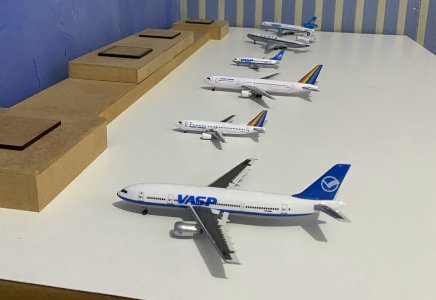
IMG_0646.jpg

Painting process finished.

IMG_1717.jpg

Stickers applied. All designed by me :)

IMG_1752.jpg


------------------------------

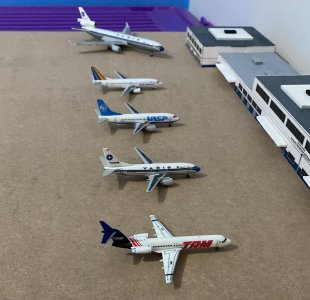
I've bought two MDF boards to create the diorama. I've decided to use two boards because it would be easier to store the diorama in my room.
Here, i'm testing some parking positions.
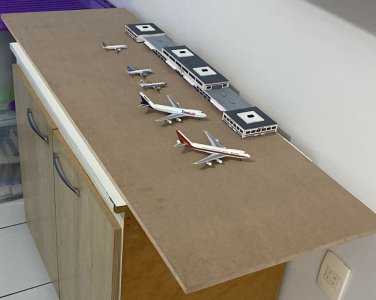
02 - Teste de posições - 26-05-2023.jpg

03 - Teste de posições - 26-05-2023.jpg

------------------------------

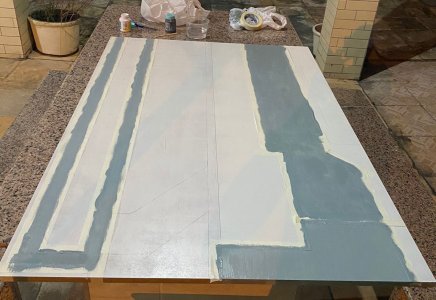
Time to paint the boards! Here's yours truly in the works. Sorry about the no shirt, but it was a hot day :ROFLMAO:
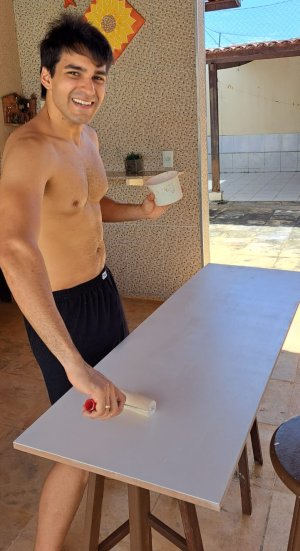
04 - Pintura primer - 27-05-2023.jpeg

------------------------------

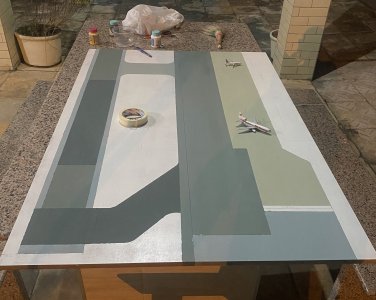
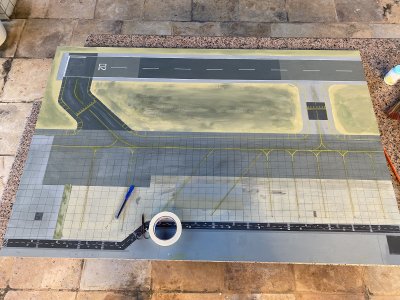
Drawing the lines and painting the runway and ramp area.
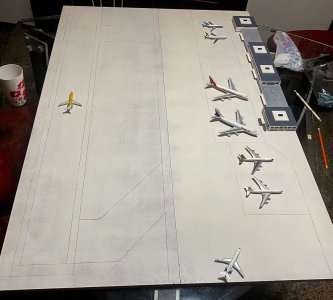
06 - Marcações Concluídas - 01-06-2023.jpeg

08 - Pintura cinza claro - 02-06-2023.jpeg

11 - Pintura - 03-06-2023.jpg

------------------------------

Ground markings, taxiway and runway details being added.
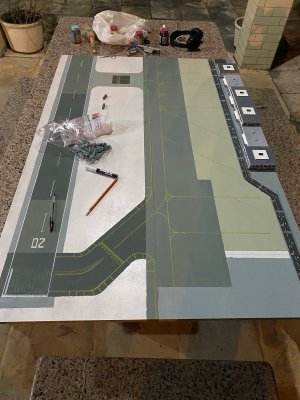
14 - Linhas de taxi, pista e outros detalhes - 07-06-2023.jpg
 
PART 02

Apron details, weathering and the base of the grassy areas are finished. It's starting to look good, I guess :)

16 - Quase finalizado - 08-06-2023.jpg

---------------------------------------

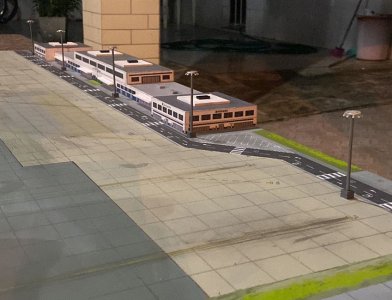
Lightpoles added.
These were created using some old Herpa 1:500 lightpoles I had. However, I used some Q-Tip sticks painted in gray and two Lego pieces, to make these lightpoles detachable, so I could store the diorama without the need of gluing them in the board.

19 - Postes adicionados - 12-06-2023.jpeg

---------------------------------------

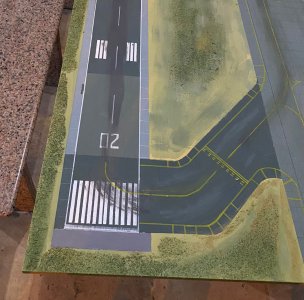
Grass being added!
By the way, those piano keys look crappy and I corrected them a bit later. They are quite tricky to paint right, at least for me!

20 - Aplicação da grama com serragem - 14-06-2023.jpg


---------------------------------------

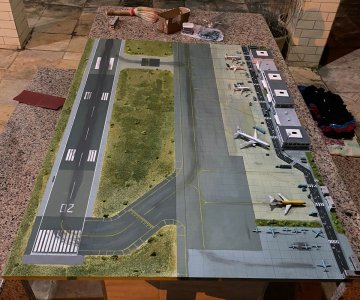
Almost finished! Some planes placed on their stands, just to test the layout and see how it looks.

21 - Praticamente finalizado - 15-06-2023.jpeg

---------------------------------------

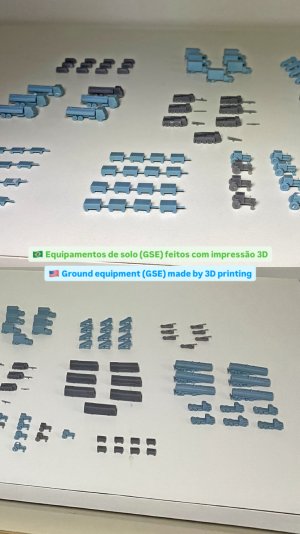
3D printed GSE made by a friend of mine here in my city.

Construção (10).JPG

---------------------------------------

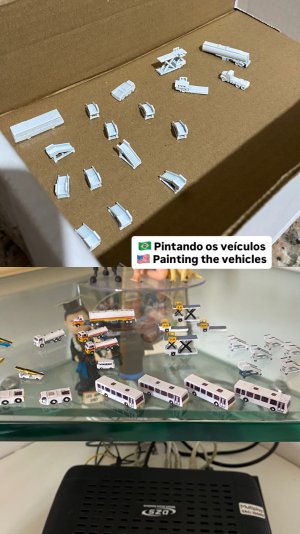
Painting the 3D printed GSE

Construção (11).JPG

---------------------------------------

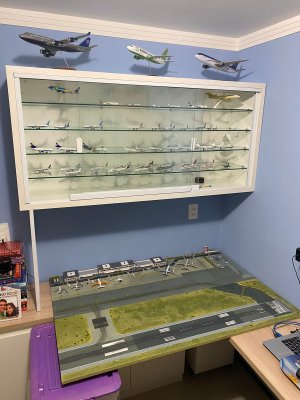
Finished! This is how it looks in my room, when fully assembled.

WhatsApp Image 2024-04-12 at 09.04.17.jpeg

---------------------------------------

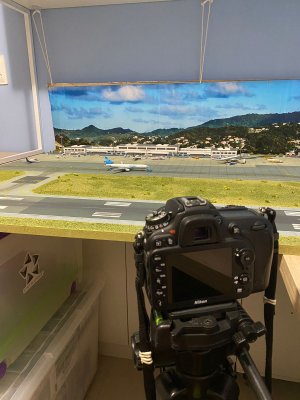
And here's a "behind the scenes"...

WhatsApp Image 2024-04-12 at 09.04.03.jpeg

Stay tuned for the upcoming definitive thread! :)
 
PART 02

Apron details, weathering and the base of the grassy areas are finished. It's starting to look good, I guess :)

View attachment 51861

---------------------------------------

Lightpoles added.
These were created using some old Herpa 1:500 lightpoles I had. However, I used some Q-Tip sticks painted in gray and two Lego pieces, to make these lightpoles detachable, so I could store the diorama without the need of gluing them in the board.

View attachment 51862

---------------------------------------

Grass being added!
By the way, those piano keys look crappy and I corrected them a bit later. They are quite tricky to paint right, at least for me!

View attachment 51863


---------------------------------------

Almost finished! Some planes placed on their stands, just to test the layout and see how it looks.

View attachment 51864

---------------------------------------

3D printed GSE made by a friend of mine here in my city.

View attachment 51873

---------------------------------------

Painting the 3D printed GSE

View attachment 51874

---------------------------------------

Finished! This is how it looks in my room, when fully assembled.

View attachment 51865

---------------------------------------

And here's a "behind the scenes"...

View attachment 51866

Stay tuned for the upcoming definitive thread! :)
Love the ground textures and 3D grass! Well done 😎
 
PART 02

Apron details, weathering and the base of the grassy areas are finished. It's starting to look good, I guess :)

View attachment 51861

---------------------------------------

Lightpoles added.
These were created using some old Herpa 1:500 lightpoles I had. However, I used some Q-Tip sticks painted in gray and two Lego pieces, to make these lightpoles detachable, so I could store the diorama without the need of gluing them in the board.

View attachment 51862

---------------------------------------

Grass being added!
By the way, those piano keys look crappy and I corrected them a bit later. They are quite tricky to paint right, at least for me!

View attachment 51863


---------------------------------------

Almost finished! Some planes placed on their stands, just to test the layout and see how it looks.

View attachment 51864

---------------------------------------

3D printed GSE made by a friend of mine here in my city.

View attachment 51873

---------------------------------------

Painting the 3D printed GSE

View attachment 51874

---------------------------------------

Finished! This is how it looks in my room, when fully assembled.

View attachment 51865

---------------------------------------

And here's a "behind the scenes"...

View attachment 51866

Stay tuned for the upcoming definitive thread! :)
Which paint pens did you use for this? The ones I have definitely don't look like this! 🔥🔥🔥
 
Awesome! What program did you use to make the stickers for the terminal?

MS Paint 😆 simple yet effective!

Which paint pens did you use for this? The ones I have definitely don't look like this! 🔥🔥🔥

I've used Uni Posca pens!

PC-5M size for the taxiway lines, parking stands and runway lines.
PC-3M size for the ground vehicle roads.
 
Top